Magnification Gesture in SwiftUI

Magnification gesture recognizes the magnification motion and tracks the amount of magnification. This gesture also tracks the sequence of change events.
We can attach this gesture to a view by creating and configuring the gestureand then adding it to the view using gesture(_:including) modifier.
Let’s understand this better with an example.
We start by creating a GestureState .
GestureStateis a property wrapper which updates a value while user performs a gesture. When the gesture ends, the wrapped value reverts back to the initial value automatically.
@GestureState var magnifyBy = 2.0Next we create the magnification gesture.
var magnification: some Gesture {
    MagnificationGesture()
        .updating($magnifyBy) { currentState, gestureState, transaction in
            gestureState = currentState.magnitude
        }
}
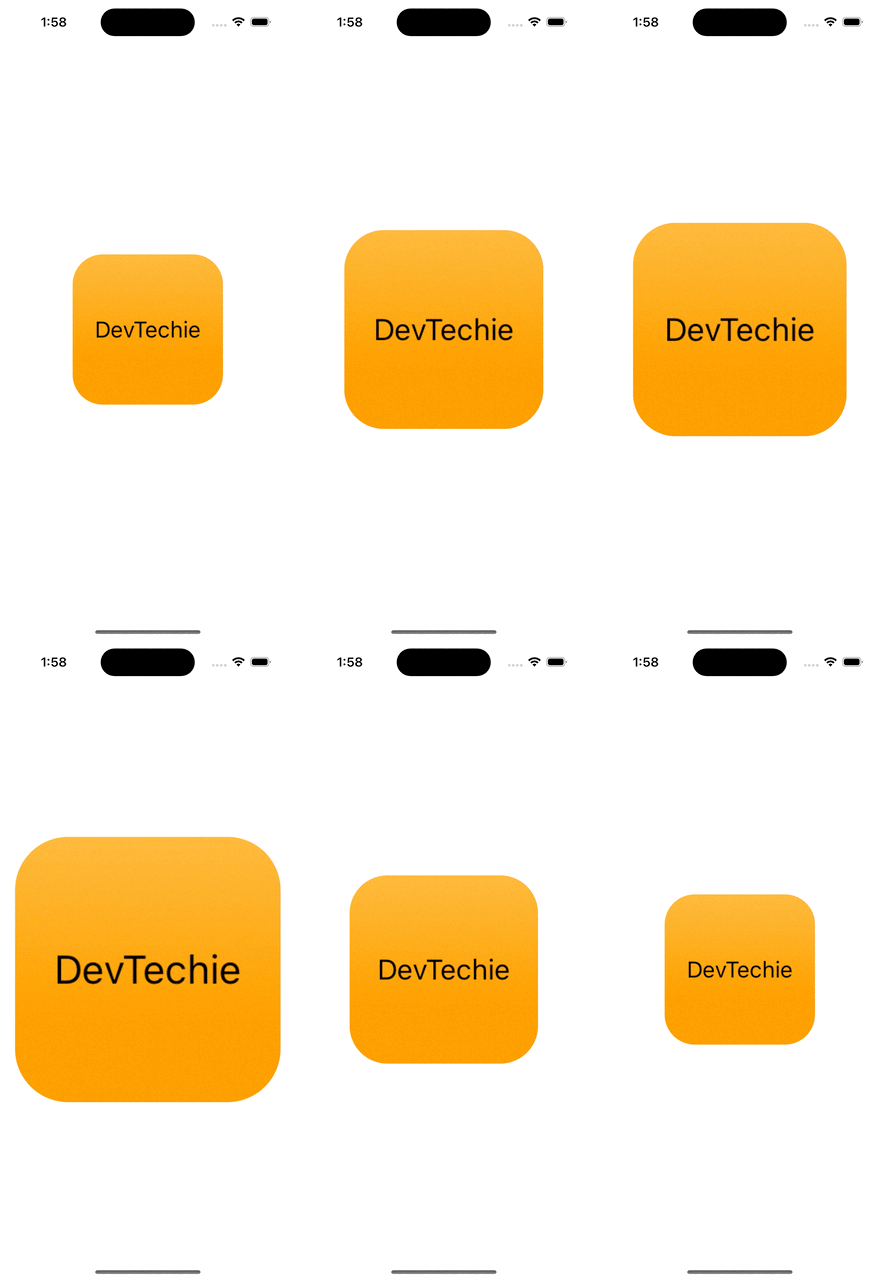
Now we are ready to attach magnification gesture to a view. We will create a RoundedRectangle, set scaleEffect modifier with the value in magnifyBy variable.
Our complete view should look like this:
struct DevTechieMagnificationGesture: View {
    @GestureState var magnifyBy = 2.0

    var magnification: some Gesture {
        MagnificationGesture()
            .updating($magnifyBy) { currentState, gestureState, transaction in
                gestureState = currentState.magnitude
            }
    }

    var body: some View {
        RoundedRectangle(cornerRadius: 20)
            .foregroundStyle(.orange.gradient)
            .overlay(Text("DevTechie").font(.subheadline))
            .frame(width: 100, height: 100)
            .scaleEffect(magnifyBy)
            .gesture(magnification)
    }
}
Build and run
MagnificationGesture takes minimumScaleDelta as parameter, which defines the minimum delta required before the gesture starts.
Let’s include this in our example where we will start gesture only when the scale value has reached 1.5.
var magnification: some Gesture {
    MagnificationGesture(minimumScaleDelta: 1.5)
        .updating($magnifyBy) { currentState, gestureState, transaction in
            gestureState = currentState
        }
}
