State Property Wrapper in SwiftUI
DevTechie Inc

Property wrappers is a feature in Swift which was introduced around the same time as SwiftUI but has found an extensive use case in the world of SwiftUI. If you want to learn basics of property wrappers then follow three part series below to learn about them.
Property Wrappers in Swift — Part 1
Property Wrappers in Swift — Part 2
Property Wrappers in Swift — Part 3
In this article, we will talk about State property wrapper.
@State property wrapper is designed to store state of a single view. It is at the core of SwiftUI’s data flow and properties marked by State property wrapper are managed by the SwiftUI framework.
State stores the value and notifies the system when that value changes so views can update themselves to show the changes to the user. Since State is designed to store state of a single view, we create it as a part of SwiftUI’s view structure.
State should be accessed from the view they belong to so it is recommended to mark State as a private property.
State properties are often passed to another view using @Binding property wrapper which is why the State’s projected value returns a Binding value.
Let’s look at this with example.
struct DevTechieStateExample: View {
    @State private var text: String = ""

    var body: some View {
        NavigationStack {
            VStack(alignment: .leading) {
                Text("Hello, \(text)")
                TextField("Enter name here...", text: $text)

            }
            .navigationTitle("DevTechie")
            .padding()
        }
    }
}
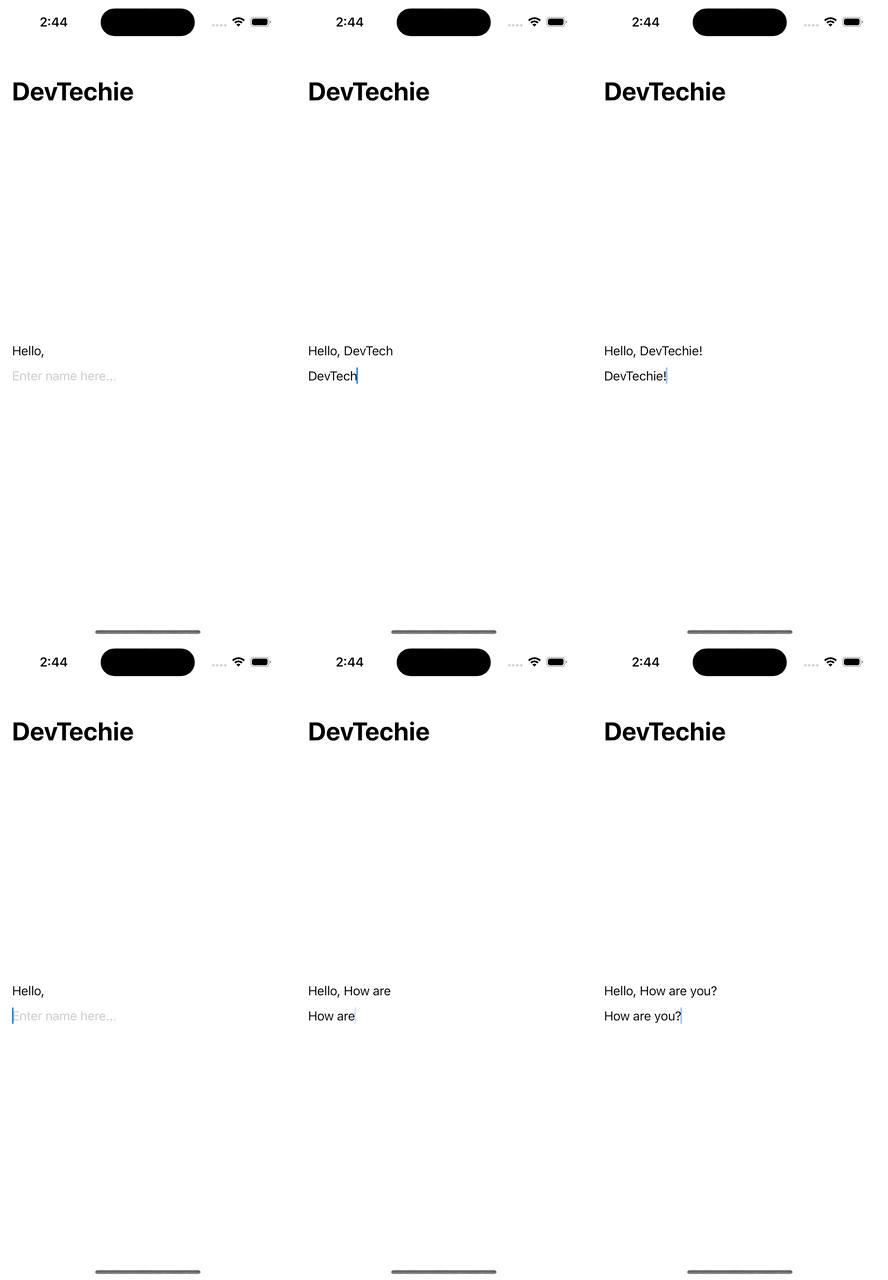
Here we start by declaring a @State property called text initialized with an empty string. We are using this property in two places in the body of the view, first in the Text view to show Hello, message and then in the TextField as a binding property (hence the $ sign).
As soon as the value for the text changes, State property wrapper notifies the system and asks body property to refresh in order to reflect the latest changes on UI.

SwiftUI takes care of the whole orchestration part on its hand so we don’t have to do anything other than binding few things here and there 😃
State properties can be any type ranging from built-in types to custom types.
Let’s add Color State property in our example.
struct DevTechieStateExample: View {
    @State private var text: String = ""
    @State private var color = Color.orange.gradient

    var body: some View {
        NavigationStack {
            VStack(alignment: .leading) {
                Text("Hello, \(text)")
                    .padding()
                    .background(color, in: RoundedRectangle(cornerRadius: 20))
                    .foregroundStyle(.white)

                TextField("Enter name here...", text: $text)
                Button("Change Color") {
                    color = Color.indigo.gradient
                }
            }
            .navigationTitle("DevTechie")
            .padding()
        }
    }
}
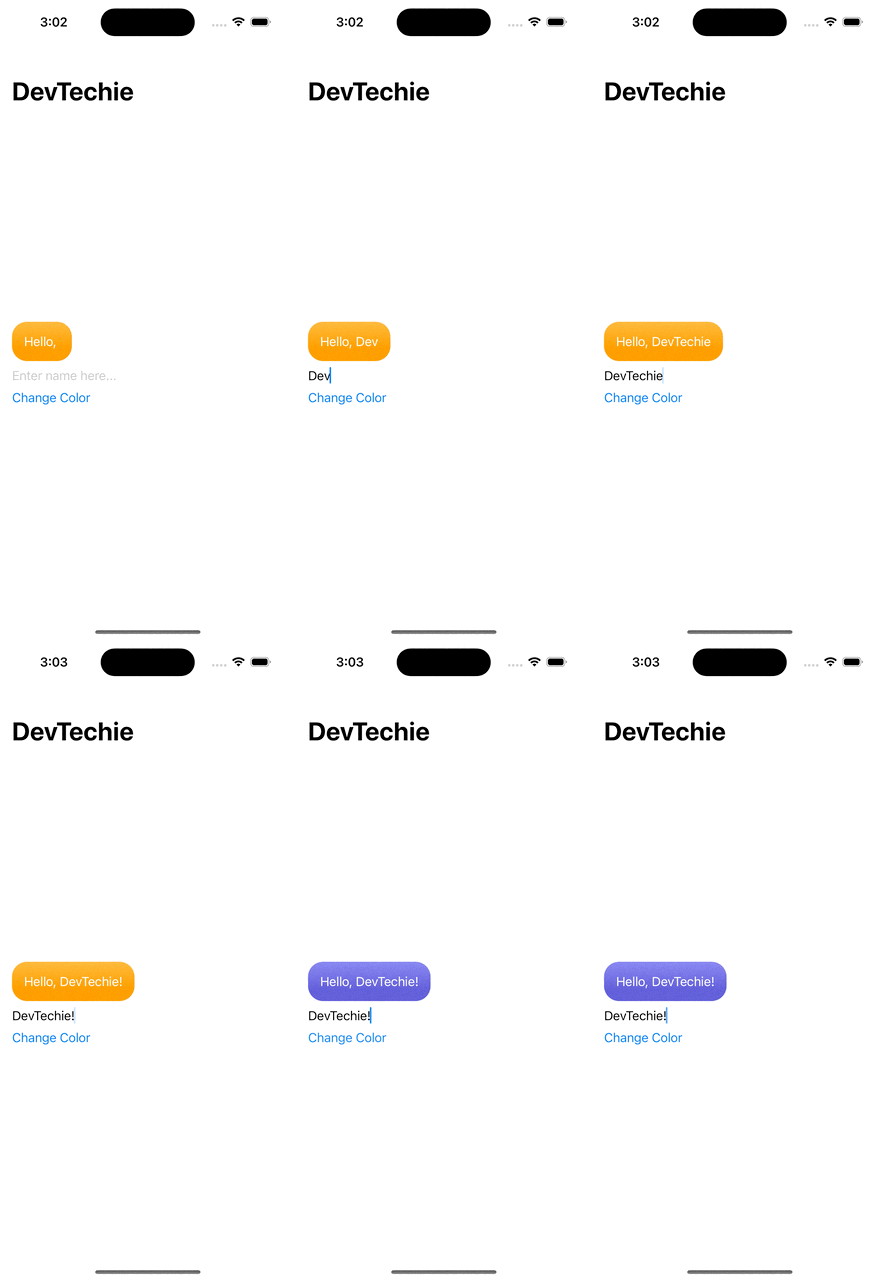
Here, we are adding State property to add rounded rectangle color background. Notice that this time, we are using Button view to change the color property.

We have two State properties and both are changing at different times but even if they were changing at the same time, system will take these updates into consideration and will optimize for the performance.
State property wrapper creates a dependency between itself and the view and therefore the view is updated every time there is a value change this is also known as view being bound to the property.
State property wrapper has two types of bindings and we have seen examples of both so let’s talk about them one by one.
Unidirectional binding
Unidirectional binding or one way binding is when the property is modified and view is updated.
In our example color is an example of unidirectional binding
@State private var color = Color.orange.gradient
Color is being modifier by the button but it has only one State to change to.
Button("Change Color") {
    color = Color.indigo.gradient
}
Bidirectional binding
Bidirectional binding is where user can modify the value. Many views allow user’s interaction like TextField, Slider, Stepper and Toggles etc. For this, SwiftUI allows us to define bidirectional bindings by prefixing the name of property with the $ symbol.
In our example, text is an example of bidirectional binding.
@State private var text: String = ""
Bidirectional binding:
TextField("Enter name here...", text: $text)Wrapped vs Projected Values
State is a generic struct and has two properties to store state’s values.
wrappedValue : this property provides primary access to the value’s data. However, we don’t access wrappedValuedirectly. Instead, we refer to the property variable created with the State attribute.
projectedValue : this property returns a struct of type Binding which creates the bidirectional binding with the view. This property is used for bidirectional binding. We use the projected value to pass a binding value down a view hierarchy. To get the projectedValue, prefix the property variable with a dollar sign ($). In our example, value binding with TextField view ($text) is the projectedValue for text State property
State Initialization
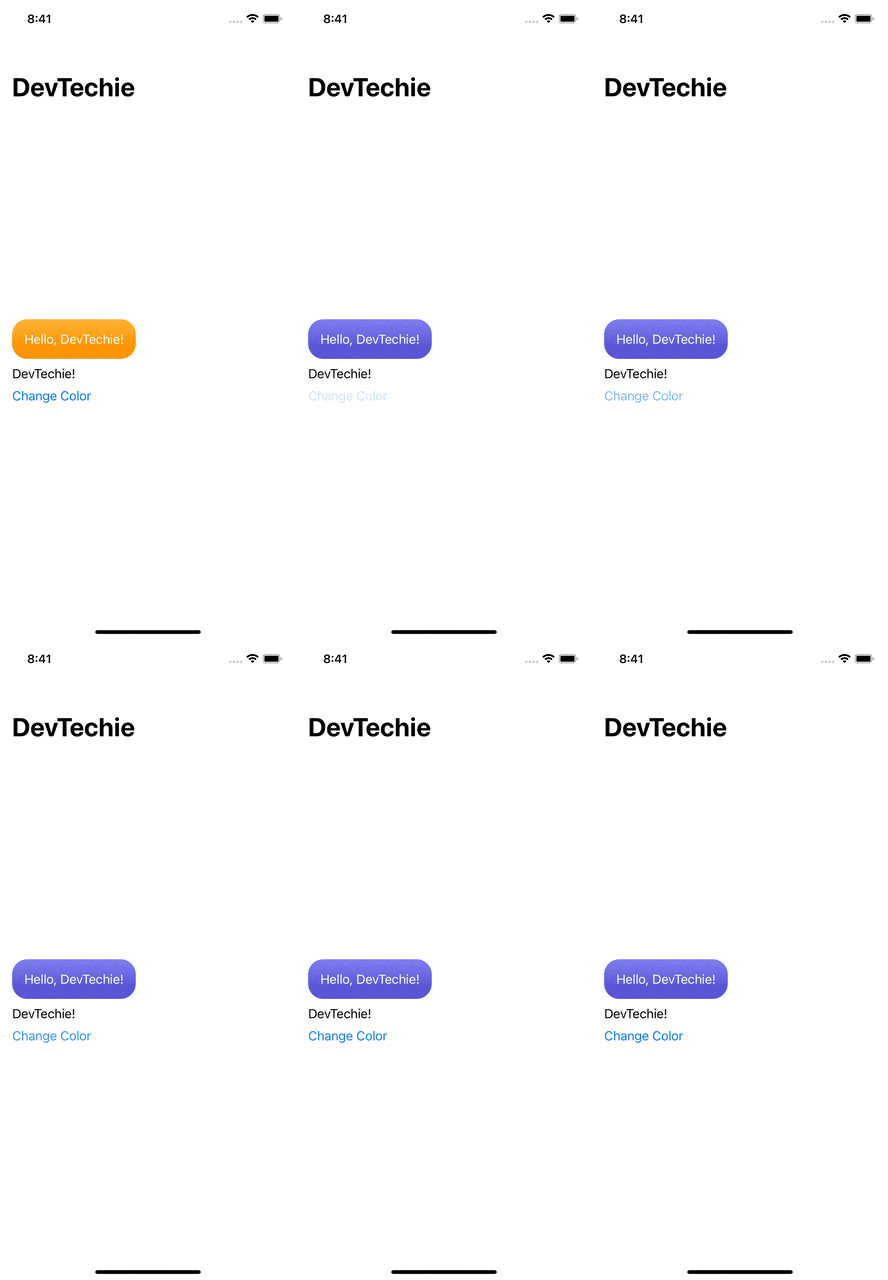
We can initialize State with values passed into our views. We will see two ways to initialize State property.
struct ContentView: View {
    var body: some View {
        DevTechieStateExample(initText: "DevTechie!")
    }
}struct DevTechieStateExample: View {
    @State private var text: String
    @State private var color = Color.orange.gradient

    init(initText: String) {
        text = initText
    }

    var body: some View {
        NavigationStack {
            VStack(alignment: .leading) {
                Text("Hello, \(text)")
                    .padding()
                    .background(color, in: RoundedRectangle(cornerRadius: 20))
                    .foregroundStyle(.white)

                TextField("Enter name here...", text: $text)
                Button("Change Color") {
                    color = Color.indigo.gradient
                }
            }
            .navigationTitle("DevTechie")
            .padding()
        }
    }
}
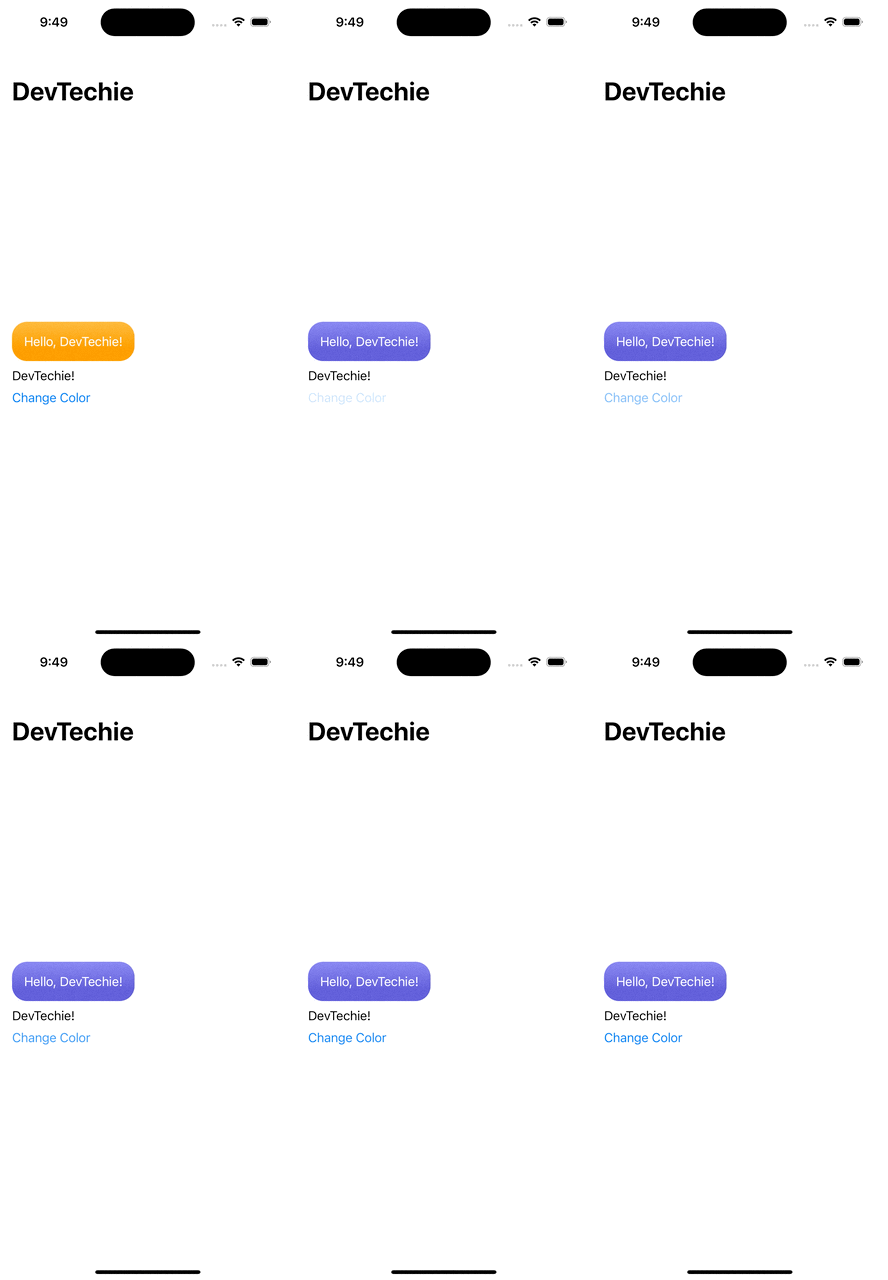
Other initializer takes wrappedValue as a parameter so let’s use it and initialize the state property.
struct DevTechieStateExample: View {
    @State private var text: String
    @State private var color = Color.orange.gradient

    init(initText: String) {
        _text = State<String>(wrappedValue: initText)
    }

    var body: some View {
        NavigationStack {
            VStack(alignment: .leading) {
                Text("Hello, \(text)")
                    .padding()
                    .background(color, in: RoundedRectangle(cornerRadius: 20))
                    .foregroundStyle(.white)

                TextField("Enter name here...", text: $text)
                Button("Change Color") {
                    color = Color.indigo.gradient
                }
            }
            .navigationTitle("DevTechie")
            .padding()
        }
    }
}
With that we have reached the end of this article. Thank you once again for reading. Don’t forget to subscribe our newsletter at https://www.devtechie.com