There is a famous saying “A picture is worth a thousand words” 😎 so we are gonna learn about Image views in SwiftUI.
We can use Image view to display images inside our app. In its simplest form Image View can be initialized with
Image("image name")
or
Image(systemName: "SF symbol name")
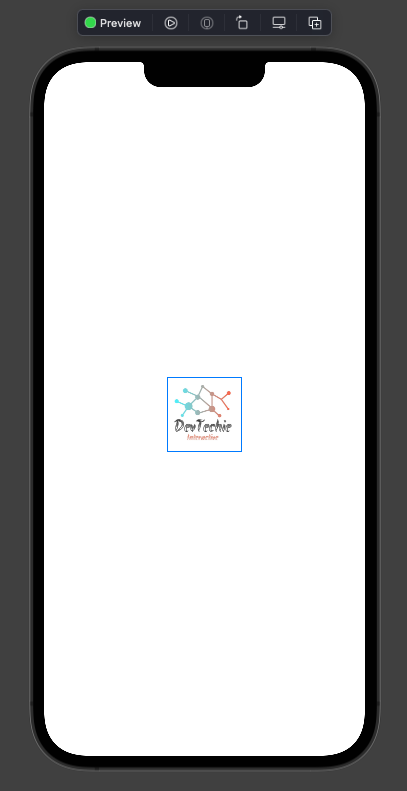
Asset Image Image(“dt”) initializer can load and display an image that is part of app bundle or inside Assets catalog folder. This initializer takes name of image as the parameter. Assets catalog supports both bitmap and PDF based vectors and Image view is capable of rendering both types without any issue.
struct ImageExample: View {
    var body: some View {
        Image("dt") // dt is name of image in Assets
    }
}
Output:
System Image
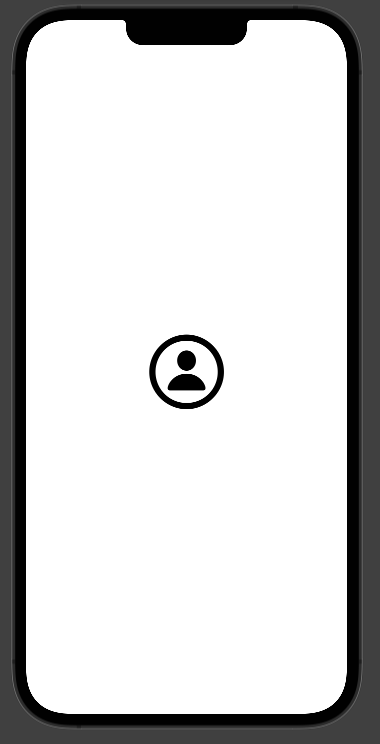
Image(systemName: “person.circle”) initializer accepts string name for SF symbol.
struct ImageExample: View {
    var body: some View {
        Image(systemName: "person.circle")
            .font(.system(size: 100))
    }
}
As you can see in the code above, with SF symbol initializer, you can apply font size.
Output:
Working with Images
Resizing Image
Image views are the size of their content meaning Image view renders image in its original size.
If we look at earlier example again:
struct ImageExample: View {
    var body: some View {
        Image("dt")
    }
}
Notice the size of image view, its going out of window(blue rectangle represents size of image view):
We can try to apply .frame modifier to resize:
struct ImageExample: View {
    var body: some View {
        Image("dt")
            .frame(width: 100, height: 100)
    }
}
But it only sets view’s frame, Image is still going out of window 😕
Reason for this behavior is because image is still being rendered in its full size but .resizable() modifier can be applied to resize the image to fit in parent view’s frame. This makes image to expand and take all the available space.
struct ImageExample: View {
    var body: some View {
        Image("dt")
            .resizable()
            .frame(width: 100, height: 100)
    }
}