HoverEffect in SwiftUI
DevTechie Inc
Jun 24, 2022
The HoverEffect modifier is probably one of the coolest fun modifiers there is in SwiftUI. I stumbled upon it while going through SwiftUI docs : https://developer.apple.com/documentation/swiftui/hovereffect
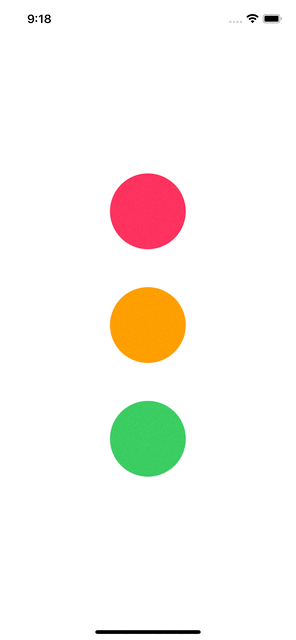
As the name suggests, it applies an effect when the pointer hovers over a view. Let’s put an example to see this in action, we will start by putting a view with three circles on screen as shown below:
struct HoverEffectExample: View {
    var body: some View {
        VStack(spacing: 50) {
            Circle()
                .fill(.pink)
                .frame(width: 100, height: 100)

            Circle()
                .fill(.orange)
                .frame(width: 100, height: 100)

            Circle()
                .fill(.green)
                .frame(width: 100, height: 100)
        }
    }
}
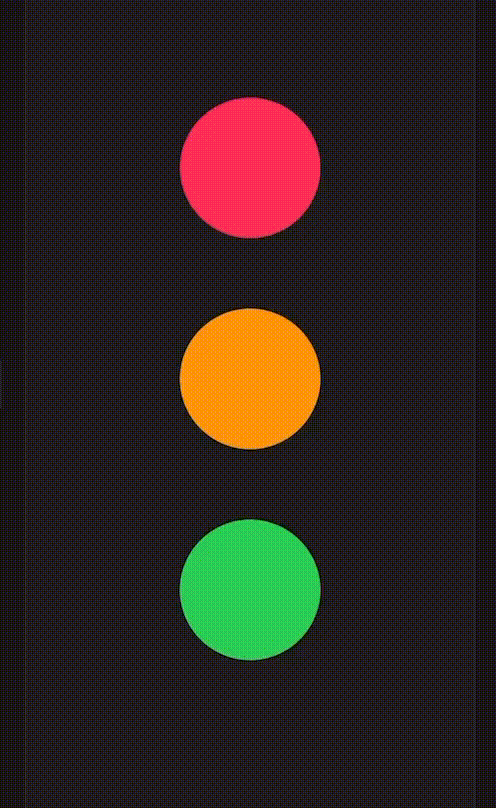
We will apply hoverEffect modifier to these.
struct HoverEffectExample: View {
    var body: some View {
        VStack(spacing: 50) {
            Circle()
                .fill(.pink)
                .frame(width: 100, height: 100)
                .hoverEffect()

            Circle()
                .fill(.orange)
                .frame(width: 100, height: 100)
                .hoverEffect()

            Circle()
                .fill(.green)
                .frame(width: 100, height: 100)
                .hoverEffect()

        }
    }
}
This will create following experience:
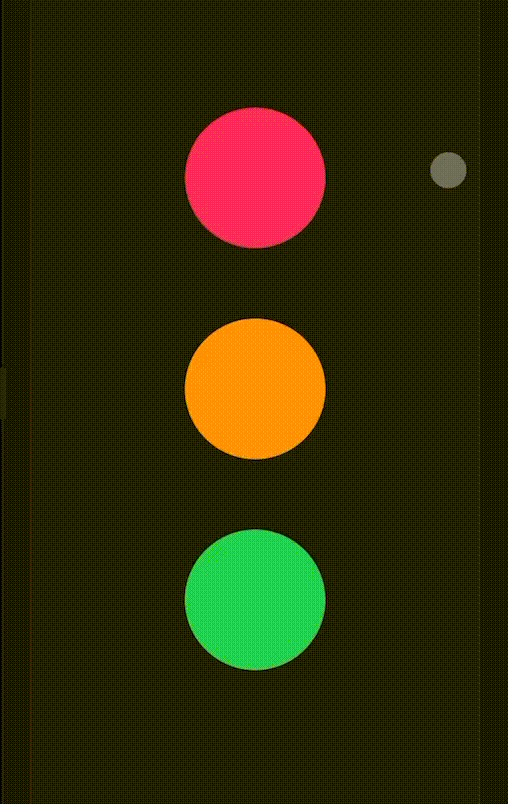
hoverEffect takes parameters as well, there are three to choose from:
- automatic: An effect that attempts to determine the effect automatically. This is the default effect.
- highlight: An effect that morphs the pointer into a platter behind the view and shows a light source indicating position.
- lift: An effect that slides the pointer under the view and disappears as the view scales up and gains a shadow.
Automatic effect was applied when we added the hoverEffect so next, let’s take a look at highlight effect.
struct HoverEffectExample: View {
    var body: some View {
        VStack(spacing: 50) {
            Circle()
                .fill(.pink)
                .frame(width: 100, height: 100)
                .hoverEffect(.highlight)

            Circle()
                .fill(.orange)
                .frame(width: 100, height: 100)
                .hoverEffect(.highlight)

            Circle()
                .fill(.green)
                .frame(width: 100, height: 100)
                .hoverEffect(.highlight)

        }
    }
}
Next, we will replace “highlight” with “lift” :
struct HoverEffectExample: View {
    var body: some View {
        VStack(spacing: 50) {
            Circle()
                .fill(.pink)
                .frame(width: 100, height: 100)
                .hoverEffect(.lift)

            Circle()
                .fill(.orange)
                .frame(width: 100, height: 100)
                .hoverEffect(.lift)

            Circle()
                .fill(.green)
                .frame(width: 100, height: 100)
                .hoverEffect(.lift)

        }
    }
}
With that we have reached the end of this article. Thank you once again for reading. Subscribe to our weekly newsletter at https://www.devtechie.com