- Jul 3, 2024
Getting Started with Vision Pro Development
- DevTechie Inc
Apple VisionPro is a mixed-reality headset that combines augmented reality (AR) and virtual reality (VR). With the introduction of Vision Pro, Apple has entered into spatial computing, providing an immersive experience with its own spatial operating system called VisionOS. Development for Apple Vision Pro is done with Xcode, SwiftUI, ARKit, and RealityKit. VisionOS is a SwiftUI-first platform, so knowledge of SwiftUI is necessary to follow along. If you would like to brush up on your SwiftUI skills, visit DevTechie.com for resources.
Before we start developing for VisionOS, let’s learn about the hardware and software requirements. To develop VisionPro apps, you will need:
A Mac with Apple Silicon
Xcode version 15 or above
VisionOS simulator
Once you have the environment set up, we are ready to immerse ourselves in the world of Apple VisionPro (AVP).
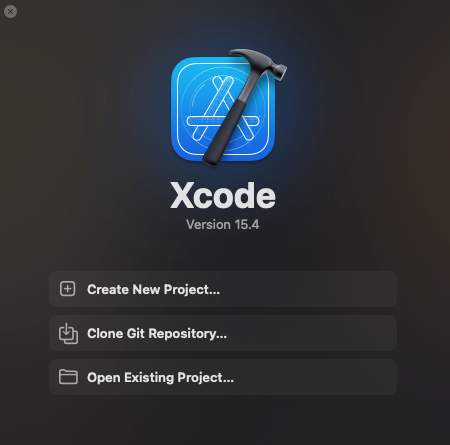
We will be using Xcode version 15.4 on Apple Silicon.
Fire up the Xcode and create a new project.
Choose “visionOS” and App from the new project template window.

Give your project a name of your choice and a unique bundle identifier. Select the initial scene as “Window” and set the immersive space renderer to “None.”

Select “Next,” set the project save location, and create the project.

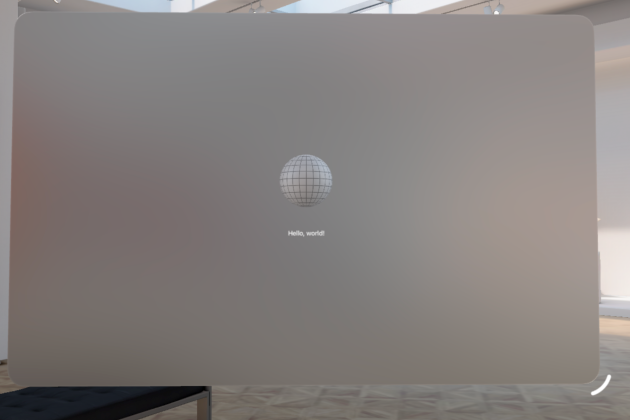
The preview canvas should show our basic app created from the Xcode template. Let’s use this to explore the controls for the simulator.
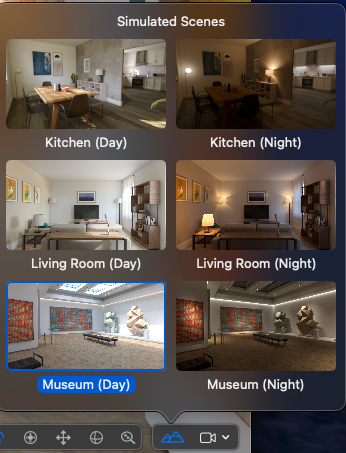
By default, you might have the “Living Room (Day)” scene selected, so let’s change that by selecting the “Simulated Scene” button in the bottom trailing corner.

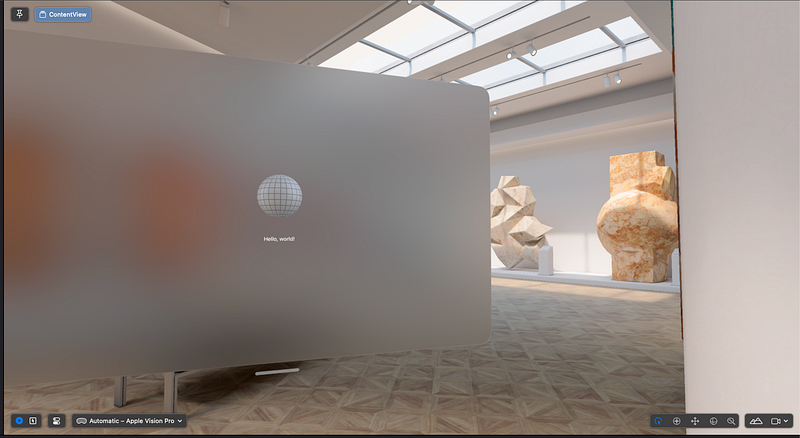
We have a few pre-rendered scenes from Apple. Let’s select “Museum (Day).”

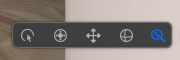
We can change the camera viewing angle by selecting the camera icon at the bottom trailing side.

Let’s select “Trailing” from the provided options. This will change the camera viewing angle to the trailing side of the app window.

Revert back to the original state by selecting the “Inherited” option from the camera.
Readjust the zoom out by pinching on the trackpad or by holding the Option key and dragging the mouse when the “Move Closer or Farther” option is selected.
On an AVP device, the interactions are gesture-based, but in the simulator, we can simulate them using the combination of selections present at the bottom trailing side.
To interact with the content in the scene, such as resizing or moving the window around, select the “Interact with Content” button.
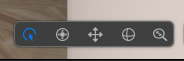
Let’s resize the window by hovering the mouse over the corner of the window and changing the size by dragging the corner handle.
We can move the window around by selecting the handle present at the bottom of the window.
We can look around in a 360-degree view by selecting the “Look Around” option.


We can move up and down using the “Move Vertically and Horizontally” option.

We can move around the content by selecting “Drag to orbit the camera”

Let’s explore the project next.

The app file looks similar to any other SwiftUI app, where we have a single WindowGroup.
import SwiftUI

@main
struct FirstAVPAppApp: App {
    var body: some Scene {
        WindowGroup {
            ContentView()
        }
    }
}
Let’s open “ContentView” file.
import SwiftUI
import RealityKit
import RealityKitContent

struct ContentView: View {
    var body: some View {
        VStack {
            Model3D(named: "Scene", bundle: realityKitContentBundle)
                .padding(.bottom, 50)

            Text("Hello, world!")
        }
        .padding()
    }
}

#Preview(windowStyle: .automatic) {
    ContentView()
}
We have three import statements here. The first one is to import the SwiftUI framework, and the second one is to import the RealityKit framework.
import SwiftUI
import RealityKit
The third import statement is to import a package created and added by the Xcode template with the name “RealityKitContent”.

This package contains the initial scene that was created for us. We can enter into the scene by navigating inside the “Sources” folder and selecting the “Scene” file.
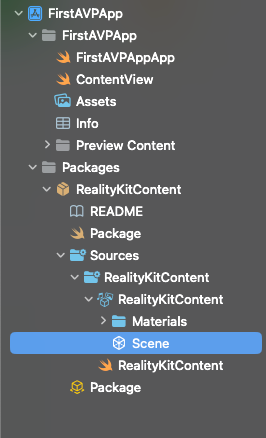
Let’s open this file inside Reality Compose Pro and modify the scene to include a capsule in the scene as well.
Add the capsule to the scene and change its material to have orange as the diffuse color.

Once we are done editing the scene, save and close the Reality Composer window, and the changed scene will appear in the preview canvas.

Let’s review rest of the code inside the content view.
struct ContentView: View {
    var body: some View {
        VStack {
            Model3D(named: "Scene", bundle: realityKitContentBundle)
                .padding(.bottom, 50)

            Text("Hello, world!")
        }
        .padding()
    }
}
Apart from the standard SwiftUI views and modifiers, we see a new type of view called Model3D.
Model3D
The Model3D view comes from the RealityKit framework. It is used to asynchronously load and display a 3D model. The 3D model for this view can come from the App Bundle or from a remote URL.
Xcode’s AVP template uses the package to store the 3D model scene. Hence, in the code, we can see the Model3D using the name of the scene along with the bundle under which the file is located.
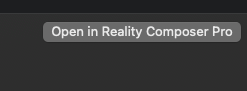
Model3D(named: "Scene", bundle: realityKitContentBundle)Let’s update this to load a model from the project bundle itself. We will download the fender_stratocaster.usdz model from Apple’s Quick Look gallery: Apple’s Quick Look Gallery. Drag and drop the model into the project and rename it as “guitar”.

Use the Model3D overload to load the guitar model into our scene.
struct ContentView: View {
var body: some View {
VStack {
Model3D(named: "guitar")
.padding(.bottom, 50)
Text("Hello, DevTechie!")
.font(.largeTitle)
}
.padding()
}
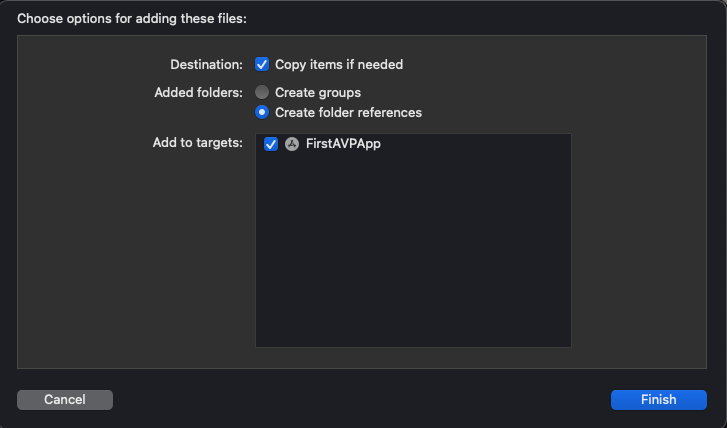
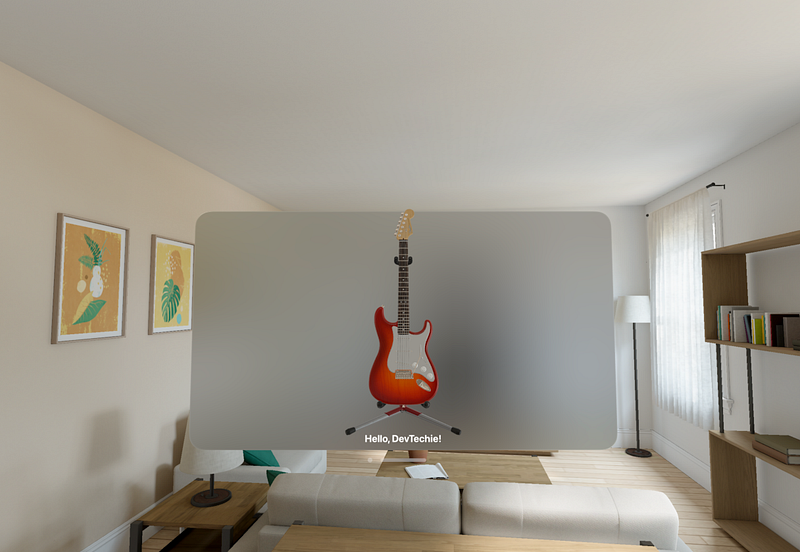
}Let’s also click on the play button to view this guitar inside the AVP simulator.
Notice that our model is only partially visible due to its size. We can fix that by adding the trailing closure to the Model3Dview, which gives us access to the model being placed. This initializer also provides us with the ability to add a placeholder view. While the model is being loaded, the view can show a loading indicator.
struct ContentView: View {
    var body: some View {
        VStack {
            Model3D(named: "guitar") { model in

            } placeholder: {
                ProgressView()
            }
            .padding(.bottom, 50)

            Text("Hello, DevTechie!")
                .font(.largeTitle)
        }
        .padding()
    }
}
Once we have access to the model, we can apply modifiers like resizable and scaledToFit to fit the model inside our view bounds.
import SwiftUI
import RealityKit

struct ContentView: View {
    var body: some View {
        VStack {
            Model3D(named: "guitar") { model in
                model.resizable()
                    .scaledToFit()
            } placeholder: {
                ProgressView()
            }
            .padding(.bottom, 50)

            Text("Hello, DevTechie!")
                .font(.largeTitle)
        }
        .padding()
    }
}
Since we are not using the RealityKitContent model anymore, we can remove the import statement for that package.
If you don’t like the glass background and want to show the model in its full glory, update the window style inside the app file to plain.
@main
struct FirstAVPAppApp: App {
    var body: some Scene {
        WindowGroup {
            ContentView()
        }
        .windowStyle(.plain)
    }
}