- Aug 11, 2025
Build an Invoice Analyzer with .NET Core and Azure Document Intelligence
- DevTechie Inc
- Azure Computer Vision
This article will walk you through the process of building an invoice analyzer using .NET Core and the powerful Azure Document Intelligence service. The approach is broken down into three simple, manageable steps, and is perfect for developers who want to integrate AI-powered document processing into their applications.
Step 1: Create the Azure Document Intelligence Service
The first step is to set up the foundational service in the Azure portal. The Document Intelligence service provides an AI model that can intelligently read and extract data from various document types, including invoices.
To create the Azure Document Intelligence service:
Sign in to the Azure portal (https://portal.azure.com/).
Click on “+ Create a resource”.
Search for and select “Document Intelligence”.
Click “Create”.
Choose your Subscription, select or create a Resource group, and pick a Region.
Enter a unique Name for your service instance.
Select a suitable Pricing tier.
Click “Review + create” and then “Create”.
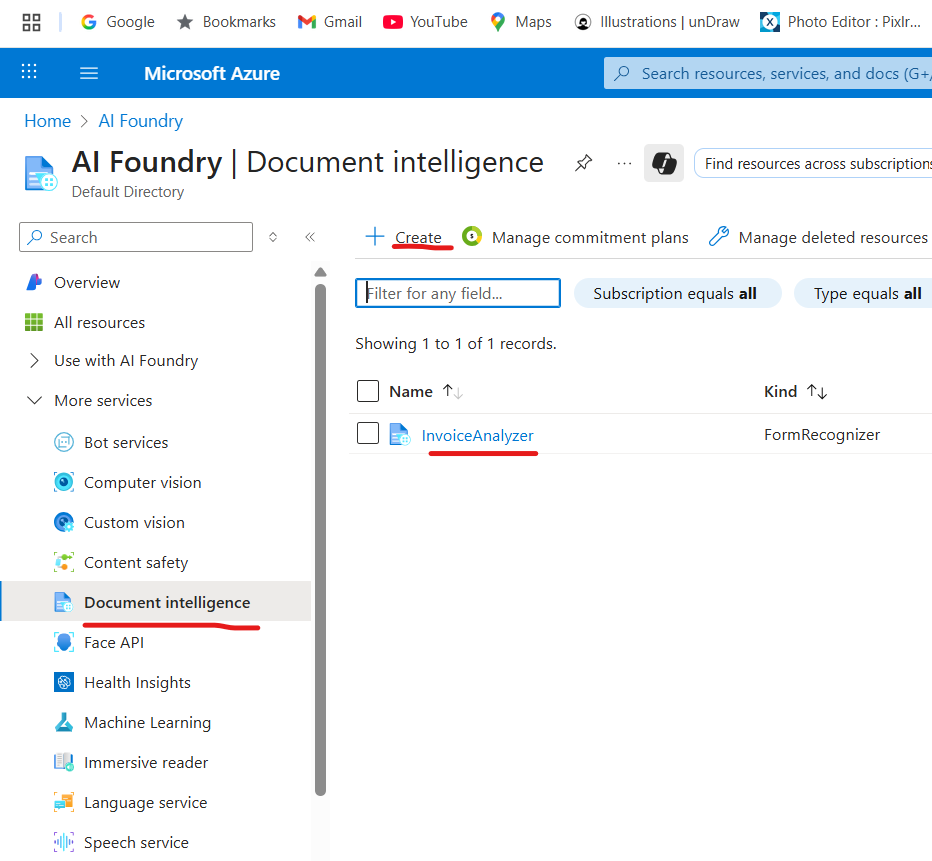
Once deployed, go to your Document Intelligence service, and under “Resource Management,” navigate to “Keys and Endpoint” to retrieve your endpoint URL and access keys.
Once you create the service, you will need two key pieces of information to connect to it: the endpoint and the keys for authentication. Make sure to securely store these credentials as they are essential for your API to communicate with the Azure service.
Below is the screenshot of Azure portal how we can create the required service.
In the below screenshot we can see endpoints and keys.

Step 2: Develop the .NET Core API
With the Azure service ready, the next step is to build a .NET Core API application that will serve as the bridge between your application and the Document Intelligence service. This API is responsible for receiving an invoice file, sending it to the Azure service for analysis, and then returning the extracted data. The core of this functionality is housed within a new API controller, as demonstrated in the code snippet below.
Required NuGet Packages
Before you begin coding, you’ll need to install the necessary NuGet packages. In your .NET Core project, you can install them using the NuGet Package Manager in Visual Studio or via the .NET CLI. The primary package for interacting with the Azure Document Intelligence service is:
Azure.AI.DocumentIntelligence: This is the official client library for the Azure AI Document Intelligence service. It contains all the classes you’ll need, such as DocumentAnalysisClient, AzureKeyCredential, and the data models for the analysis results.
To install it via the .NET CLI, run the following command in your project directory:
Bash
dotnet add package Azure.AI.DocumentIntelligence
Breakdown of the InvoiceAnalyzerController Code:
The provided code snippet demonstrates a clean and robust approach to handling the invoice analysis.
[HttpPost("analyzeInvoice")]
public async Task<IActionResult> AnalyzeInvoice([FromForm] IFormFile imageFile)
{
    // Check if the uploaded file is null or empty
    if (imageFile == null || imageFile.Length == 0)
        return BadRequest("No file uploaded."); // Return a 400 Bad Request response if no file is provided

    try
    {
        // Create Azure credentials using the provided API key
        var credential = new AzureKeyCredential(AzureAIConstants.DocumentAnalysisApiKey);

        // Initialize the DocumentAnalysisClient with the endpoint and credentials
        var client = new DocumentAnalysisClient(
            new Uri(AzureAIConstants.DocumentAnalysisEndpoint), // Azure endpoint for the Document Analysis service
            credential
        );

        // Open a readable stream for the uploaded file
        using var stream = imageFile.OpenReadStream();

        // Call the Azure Document Analysis API to analyze the invoice using the "prebuilt-invoice" model
        var operation = await client.AnalyzeDocumentAsync(WaitUntil.Completed, "prebuilt-invoice", stream);

        // Retrieve the result of the analysis
        var result = operation?.Value;

        // Check if the result is null, indicating the analysis failed or returned no data
        if (result == null)
            return StatusCode(500, "Invoice analysis failed or returned no results."); // Return a 500 Internal Server Error response

        // Create a dictionary to store the analyzed content from the invoice
        Dictionary<string, string> finalAnalyzedContent = new Dictionary<string, string>();

        // Iterate through the fields in the analyzed document and add them to the dictionary
        foreach (var content in result.Documents[0].Fields)
        {
            finalAnalyzedContent.Add(content.Key.ToString(), Convert.ToString(content.Value.Content));
        }

        // Return a 200 OK response with the analyzed invoice data
        return Ok(new
        {
            message = "Invoice analyzed successfully", // Success message
            summary = finalAnalyzedContent // Analyzed content as a summary
        });
    }
    catch (Exception ex)
    {
        // Catch any exceptions and return a 500 Internal Server Error response with the error message
        return StatusCode(500, $"Something went wrong: {ex.Message}");
    }
}
By following this code structure, your .NET Core API will be able to receive an invoice, perform the analysis with Azure Document Intelligence, and provide a structured, usable result to the consumer.
NOTE: Make changes to above code snippet for key and endpoint based on your Azure service.
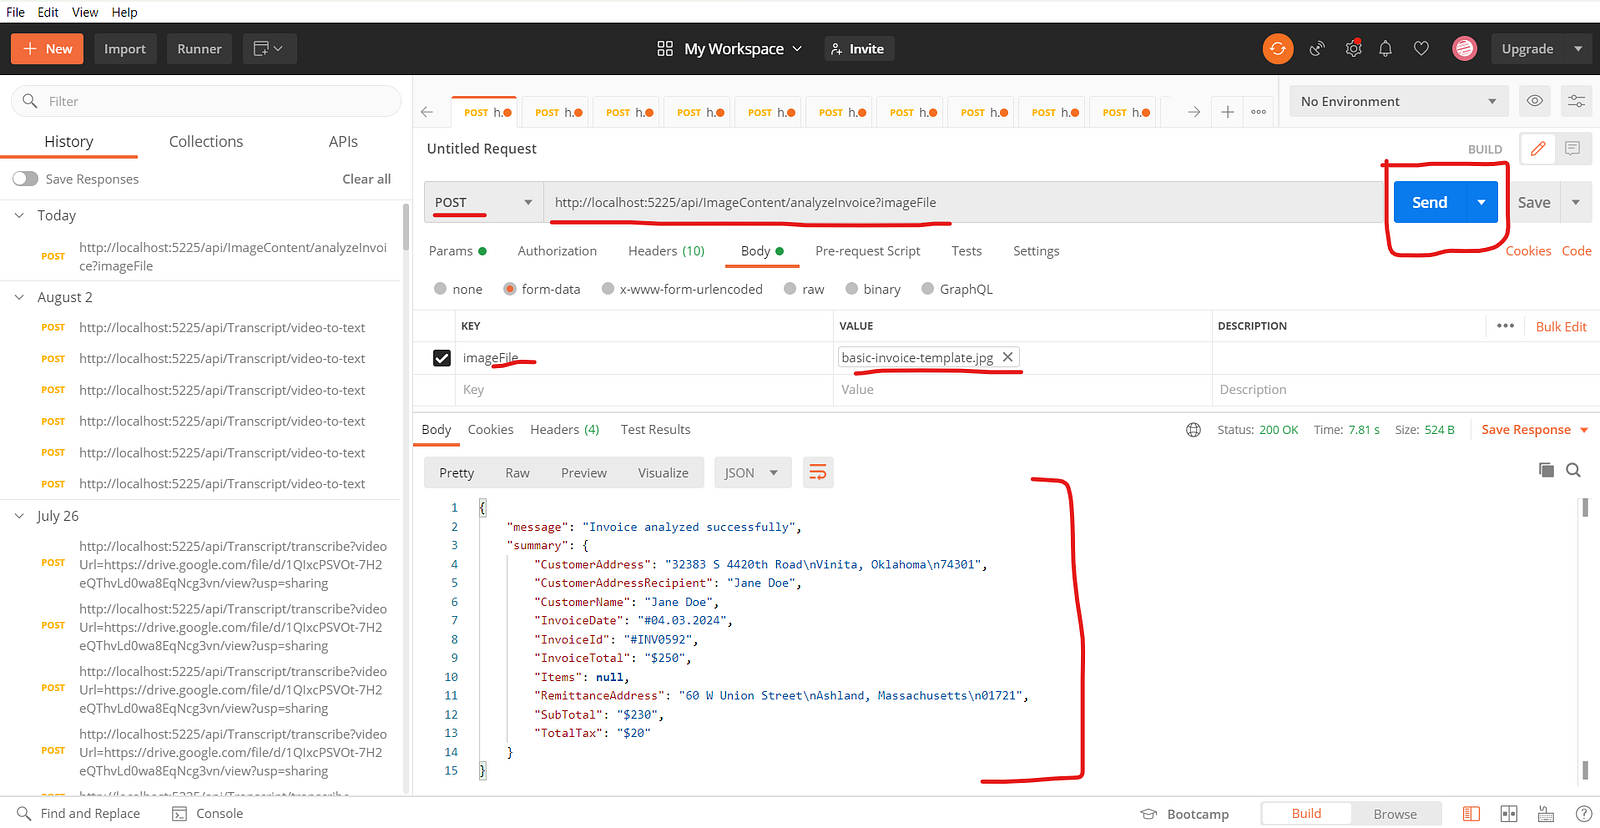
Step 3: Test the API with Postman
The final step is to test your newly created API to ensure it’s functioning as expected. The tutorial demonstrates how to use a tool like Postman to upload an example invoice image to your API. The successful output shows the API receiving the image, sending it to the Azure service, and then returning the extracted data. This data includes critical information such as the invoice number, date, recipient, and financial details, confirming that your invoice analyzer is successfully working.
By following these steps, you can create a robust and efficient invoice analysis solution. To see the full demonstration and get a deeper understanding of the code, watch the full video tutorial here: